Checklist for Domestic House Moving Day Success
For a successful house moving day, begin with a solid checklist. Start by planning your timeline and budget. Organise a moving binder with essential documents and an inventory of your belongings. Gather packing supplies and ensure all boxes are clearly labelled. Check that the utilities at your new home are set up before the move. Confirm your insurance covers your items during transit. Once you've moved in, inspect for any damage and update your address with important organisations. Following these steps will help ensure a smoother transition. To further improve your moving experience, consider additional tips and best practices for a stress-free day.
Key Takeaways
- Confirm all moving arrangements with the removal company, ensuring they have your correct address and contact details.
- Prepare a essentials box with items you'll need right away, such as toiletries, clothes, and important documents.
- Do a final walkthrough of your old home to check for any forgotten items, making sure all rooms are empty and secure.
- Clearly label all boxes and double-check that fragile items are well-protected for safe transport.
- Set aside time to clean your old home after moving out, leaving it in good condition for the next occupants.
Pre-Move Planning Essentials
When preparing for a house move, effective pre-move planning is crucial for a smooth transition. Begin by creating a moving timeline, assigning specific tasks to each week leading up to your move. Confirm your moving date and build a schedule around it.
Next, establish a moving budget to track expenses such as packing supplies and removal services. Research and book removal companies or van hire well in advance to ensure you find a provider with the right qualifications and insurance coverage for your needs. Consider using portable storage containers for added flexibility during your packing process.
Decluttering is important; go through each room to decide what to keep, donate, or throw away. This will boost your motivation and simplify the process.
Gather packing supplies early—collect boxes, packing paper, bubble wrap, and markers. Clearly label boxes with colour-coded labels indicating contents and destination rooms, making unpacking easier.
Don't forget to inform utility companies and services about your move, scheduling disconnections and connections. Updating your address with banks, credit card providers, and the Post Office is also essential for a smooth transition.
To keep the mood light, create a packing playlist to enjoy while you work. Finally, pack an essentials box with items you'll need right away upon arrival.
Following these steps will help ensure a successful moving day.
Organizing Your Moving Binder
Organising Your Moving Binder
As you finalise your pre-move planning, creating a moving binder can help manage the chaos of moving day. This binder will act as your central hub, keeping all essential documents in one place. Start by gathering supplies such as colour-coded tabs, a large binder, section dividers, filler paper, and a label maker for clear labels. Remember that having a well-organized moving binder is essential for effective organization during your move. Additionally, having an inventory sheet will help ensure all your items are accounted for during the packing process.
Here's a simple table to illustrate the key sections:
| Section | Supplies Needed | Purpose |
|---|---|---|
| Moving Timeline & Checklists | Filler paper, colour-coded tabs | Track your tasks |
| Inventory & Labelling | Box labelling sheets | Ensure nothing gets lost |
| New Home Details | Section dividers | Organise information about your new place |
| Miscellaneous Documents | Clear sleeves | Store important papers securely |
Customise your binder by dividing it into clear sections and regularly updating it to reflect your progress. This method not only enhances document organisation but also reduces stress, ensuring nothing is overlooked during your move. You'll feel more in control, allowing you to focus on the excitement of your new home.
Setting Up a Moving Calendar
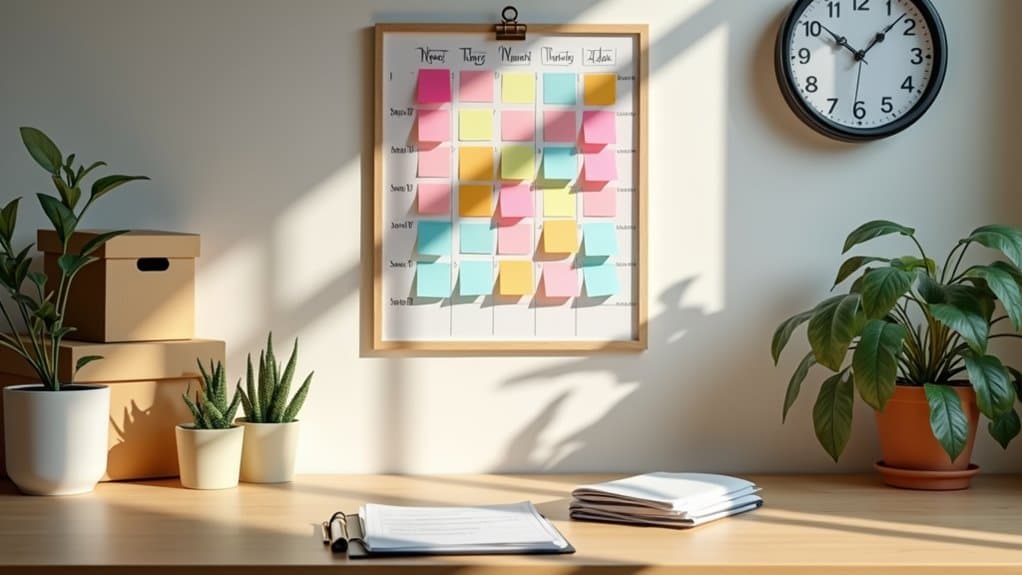
To keep your move on track, it's vital to create a moving calendar with key dates and a timeline for tasks.
Begin by noting important deadlines, such as booking the removal company and packing schedules. This approach will help you stay organised and ensure nothing is missed as moving day draws nearer. To facilitate a smooth moving process, aim for adequate foresight in your planning and scheduling. Additionally, remember to contact removal companies at least four weeks in advance to secure the best options.
For instance, aim to book your removal company at least four weeks in advance and start packing non-essential items a couple of weeks before the move.
Key Dates to Remember
Creating a moving calendar is crucial for a successful relocation. Start by marking important dates, beginning seven weeks before your moving day.
Set up a moving binder to keep all your documents organised and establish a calendar for key tasks such as packing days, the actual moving day, and setting up utilities. This will help you keep track of your moving budget and reduce stress. Additionally, it's important to set a moving budget to manage your expenses throughout the process.
Five weeks before the move, finalise your paperwork and continue packing items you won't need immediately.
It's also a good time to request time off work and compare insurance options for your belongings.
As the moving date approaches, four weeks out, confirm your moving arrangements and plan your travel.
Research new schools or childcare options, and consider any storage needs you may have.
In the final week, concentrate on packing essential items and arranging care for children or pets on moving day.
In the days leading up to your move, make sure to label boxes clearly to make unpacking easier.
Timeline for Tasks
Once you've noted key dates in your moving calendar, it's time to create a timeline for tasks to ensure everything goes smoothly. A well-organised timeline can simplify your moving process and help you manage your choice of moving companies and budget effectively. It's also important to gather supplies early in the process to avoid last-minute stress.
| Timeline Phase | Tasks to Complete |
|---|---|
| 8-7 Weeks Before Move | Research removal companies, set a budget, create a moving folder |
| 6-4 Weeks Before Move | Book your movers, declutter belongings, pack non-essential items |
| 3-2 Weeks Before Move | Pack seldom-used items, confirm arrangements with movers |
| 1 Week to Moving Day | Finalise packing, prepare for moving day, clean your old home
Confirming Insurance Coverage
Confirming your insurance coverage before moving day is crucial to protect your belongings. Start by checking your existing home insurance or contents insurance to see if it covers items in transit. Many policies have limitations, so identify any gaps, particularly regarding damage during transport or storage.
It's also wise to check for cover against theft and vandalism, which can be common concerns during a move.
Next, look into the insurance options provided by your moving company. They usually offer Released Value Coverage, which is free but limited to 60 pence per kilogram per item, and Full Value Protection, which covers the current market replacement value.
If you're transporting high-value items, make sure they're specifically listed to avoid any liability limitations.
If you're moving independently, consider additional coverage options like rental van insurance to protect your belongings.
Remember, without sufficient insurance, you bear the risk of damage or loss. Use these strategies to secure peace of mind on moving day, and consult with your insurance advisor for clarity on coverage details.
Prioritising this step can save you from potential issues later on.
Creating Inventory of Belongings
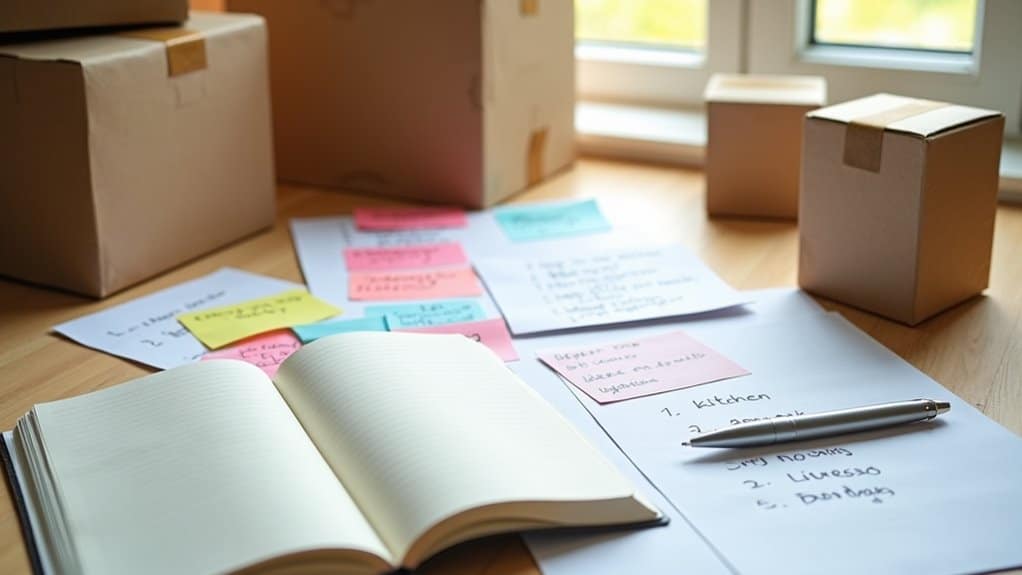
Creating an inventory of your belongings is crucial for a seamless moving day and helps to ensure nothing goes missing during transit. Start by organising your inventory by room or category. For each item, provide detailed descriptions, including its condition, make, model, and serial number if relevant. Document the purchase date and cost, then estimate the current value to aid in item valuation.
Choose your preferred method for compiling the list—be it on paper, via a spreadsheet, or using an app. Take photos or videos for visual reference. Don't forget to record the quantity of each item, particularly for multiples, and attach receipts and warranties to the list.
Clearly label each box with its contents and the destination room to facilitate effective inventory management. As you review your inventory, assess items to determine what to keep, donate, sell, or discard. Check the condition of each item and update the inventory as needed during packing.
Finally, use the inventory on moving day to confirm that all items arrive at your new home as expected, ensuring a smooth transition.
Choosing Your Moving Method
Once you've sorted your inventory, it's time to choose how to move your belongings to your new home. You have several options, each with its own advantages and disadvantages.
DIY moving is the most cost-effective choice, allowing you to save money. However, it demands a lot of time and effort. While you have full control over everything, there's a risk of damaging your items without professional help.
For a middle ground between cost and convenience, consider hybrid moving. This approach lets you manage some tasks yourself while hiring professionals for others. It's less taxing than a full DIY move but still requires some of your input.
If you prefer maximum convenience, full-service moving is the best option, though it comes at a higher price. This choice saves you time and minimises the risk of damage, but it can be quite expensive, particularly for long-distance relocations.
Renting a moving container provides flexibility and is usually cheaper than full-service moving but pricier than DIY. This method allows you to pack at your own pace and offers storage solutions if needed.
Assess these moving methods based on your budget, time, and effort to determine which is the best fit for your move.
Effective Packing Strategies
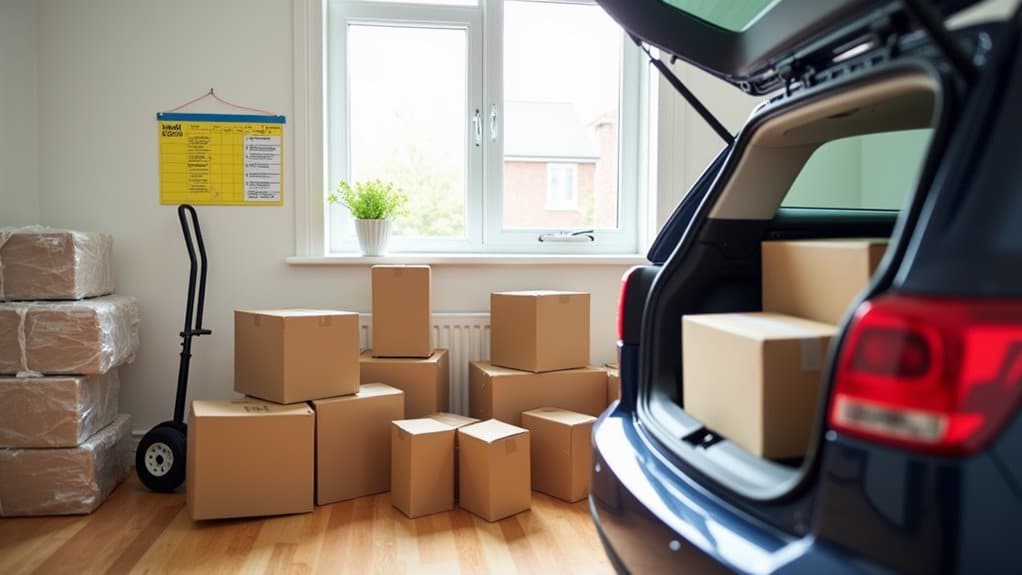
When packing for your move, having a clear strategy can really help. Start with the least-used rooms, like guest bedrooms and basements, and tackle one room at a time to keep things organised. Use effective packing techniques and decluttering methods to streamline the process.
Here's a quick reference table to assist you:
| Packing Technique | Purpose | Tips |
|---|---|---|
| Sort and Declutter | Decide what to keep or toss | Donate or sell items you no longer need |
| Protect Fragile Items | Avoid damage during transit | Wrap fragile items in bubble wrap |
| Use Suitcases | Make the most of space for soft items | Store clothes and linens in them |
Gather essential supplies like boxes and bubble wrap, and set a packing schedule to stay on track. Pack similar items together and consider colour coding for quick identification. Ensure heavy items are at the bottom of boxes to maintain balance. By following these strategies, you'll pack efficiently and make your move smoother.
Labeling Boxes for Easy Access
Labeling Boxes for Easy Access
Effective organisation is essential for a smooth moving day, and having a clear labelling system can significantly improve your efficiency.
Here's how to make unpacking a breeze:
- Label by Room: Clearly mark each box with the name of the room it's destined for in your new home.
- List Contents: Write a brief description of the main items inside each box for quick reference.
- Use Colour Coding: Assign specific colours to each room using coloured tape or stickers, making it easy to identify at a glance.
- Number the Boxes: Number boxes within each room (e.g., Kitchen 1, Kitchen 2) for better tracking.
Make sure to use high-quality permanent markers and printable labels for clear visibility.
Secure your labels with clear packing tape to ensure they stay attached.
Before moving, double-check that all labels are correct and that your colour coding aligns with your plan.
This straightforward approach to labelling will save you time and effort when you arrive at your new home.
Happy moving!
Preparing an Essentials Box
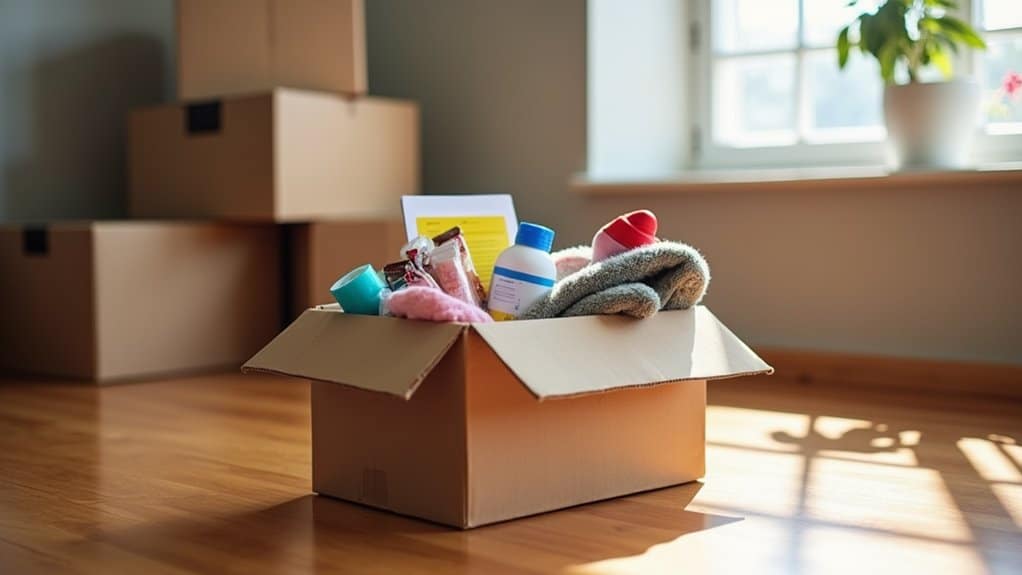
When you're moving, having an essentials box is crucial for immediate needs.
Pack items like toiletries, snacks, and important documents for quick access.
Organise everything neatly, so you can easily find what you need amid the chaos of moving day.
Essential Items to Include
Packing an essentials box can significantly ease your moving day. This box should contain everything you'll need immediately in your new home.
Here's a quick checklist to help you prepare:
- Basic Toiletries: Include your toothbrush, toothpaste, deodorant, and any other daily hygiene items.
- First-Aid Kit: Pack crucial medical supplies such as plasters, antiseptic wipes, and any regular medications.
- Kitchen Essentials: Bring plates, cutlery, and some snacks to keep you fuelled during the move.
- Personal Overnight Items: Don't forget a change of clothes, pyjamas, and important documents like your ID and insurance details.
Having these key items readily available will save you from digging through boxes when you're exhausted and just want to settle in.
Clearly label your essentials box and keep it easily accessible throughout the moving process. This way, you'll have everything you need without unnecessary stress.
Packing and Organization Tips
A well-planned approach to packing can greatly improve your moving experience. Start by creating a packing timeline and ordering supplies in advance—gather boxes, tape, and markers to avoid last-minute stress.
Begin with non-essentials, packing items you rarely use first. Tackle one room at a time to simplify the unpacking process. Clearly label each box with its contents and the room it belongs to, and consider a colour-coding system for added efficiency.
Group similar items together, and use bubble wrap or padding to protect fragile items from damage. Set aside an essentials box containing items you'll need right away—think toiletries, a few kitchen essentials, and important documents. This way, you won't have to search through multiple boxes on your first night.
Designate a packing area to keep everything organised and minimise clutter. Lastly, consider getting rid of items you no longer need before you start packing. This won't only cut down on moving costs but also streamline your organisation process.
Easy Access During Move
To ensure easy access during your move, it's vital to prepare an essentials box. This box will contain important items you'll need right away, making your transition smoother.
Here's what to include:
- Toiletries: Remember toilet roll, toothbrushes, and hand wash.
- Kitchen Basics: Pack plates, mugs, cutlery, and some snacks for moving day to keep your energy up.
- First Aid Kit: Include plasters, antiseptic wipes, and any necessary prescription medications.
- Personal Comfort: Bring bed sheets, blankets, and a change of clothes for immediate comfort.
Keep the essentials box in your car or load it last so it's the first thing you unload. Clearly label it "Essentials" to find it quickly.
Gather items room by room to ensure you don't miss anything important.
Moving Day Logistics Checklist
Moving day can be hectic, but a logistics checklist ensures everything goes smoothly. Start with any last-minute packing and cleaning. Check that all boxes are labelled and sealed, and that appliances are defrosted and cleaned. Dispose of hazardous materials and perishables before the movers arrive.
Clear doorways and hallways for easy access. Reserve parking for the moving trucks and keep pets and children secure to avoid any accidents. Set aside essential items so you can find them easily after the move. Review and sign the moving contract to prevent any last-minute surprises.
On moving day, guide the movers to the right rooms for efficient unloading. Inspect boxes for damage and do a final check to ensure nothing is left behind. Keep an inventory of your items as they're loaded, and confirm each box is placed in its designated room.
Lastly, stock up on snacks for moving day. They'll help keep your energy up and reduce stress as you tackle the day ahead. A well-organised move makes the transition to your new home much smoother.
Confirming Travel Arrangements
Confirming your travel arrangements is crucial for a smooth moving experience.
Ensuring every detail is sorted, especially regarding travel safety and pet regulations, will save you stress.
Here's a straightforward checklist to help you:
- Air Travel:
- Collect your airline tickets.
- Ensure passports and visas are in order.
- Share a detailed travel itinerary with everyone involved.
- Confirm shipping dates for any unaccompanied air baggage.
- Pet Travel:
- Check the arrangements for your pets' transport.
- Ensure you meet all entry requirements for your pets.
- Book pet-friendly accommodation if necessary.
- Confirm your pets are microchipped and have identification tags.
- Vehicle Shipping:
- Arrange cross-country transport if needed.
- Confirm the schedule for shipping your vehicle.
- Review the transport contract carefully.
- Accommodations:
- Book places to stay for your family during the move.
- Confirm check-in and check-out times.
Utility and Service Setup
Setting up utilities and services in your new home is crucial for a smooth transition. Begin by identifying your current utilities and researching providers in your new area. Compare utility companies to ensure you're getting the best deals. Aim to schedule changes 2 to 4 weeks before your move to avoid last-minute stress.
Here's a simple checklist to help you:
| Task | Action Required |
|---|---|
| Identify Current Utilities | List account details and disconnection dates |
| Schedule Utility Changes | Contact providers to arrange disconnections and connections |
| Set Up New Utilities | Reach out to new providers and establish accounts |
| Verify Utility Activation | Test basic functions and confirm services are active |
Remember to activate services online where possible. Also, prepare essential documents, particularly for water and waste services. Make sure all utilities are switched on before you move in, and if you encounter any problems, contact the provider straight away. Following these tips will help you settle in comfortably.
Post-Move Checks

Once you've settled in, it's time to ensure your home is ready for everyday living.
Begin by checking for any damage and unpacking essential items to make your space comfortable immediately.
For example, prioritise your kitchenware and bedding first.
These simple steps will help you transition smoothly into your new home.
Confirm Home Readiness
Before moving into your new home, it's vital to ensure everything is prepared for your comfort and safety. Confirming your home's readiness helps secure effective locking systems and implement necessary safety measures.
Here's a concise checklist to get you started:
1. Check and Replace Locks
Change the locks on all exterior doors and consider adding deadbolts for extra security. Test the locks during your final walk-through to ensure they work properly.
2. Test Safety Equipment
Make sure smoke and carbon monoxide detectors are functioning by replacing batteries if needed. Place detectors in key areas of the home, and check fire extinguishers for pressure.
3. Inspect HVAC and Electrical Systems
Examine your heating and cooling systems and ensure air filters are clean. Test all electrical outlets and light switches to confirm they operate correctly.
4. Check Plumbing and Appliances
Look for leaks under sinks and check appliances like the fridge and oven for proper installation. Inspect behind appliances for any signs of damage.
Taking these steps will help you settle in with peace of mind.
Inspect for Damage
As you settle into your new home, it's important to inspect for any damage that may have occurred during the move. Begin with a thorough assessment of both the outside and inside of the property.
For the exterior, check patios and decking for loose boards and signs of water damage. Test outdoor security lights to ensure they detect motion, and confirm that all locks are functioning properly.
Next, turn your attention to the interior. Examine walls for scratches or larger holes, and look for carpet stains or broken windows. Ensure all appliances are working, and check for any unauthorised alterations. Use your pre-move inspections as a reference to compare the home's current condition.
Don't overlook specific rooms. In the kitchen, make sure it's clean and that all appliances are operational.
In the bathrooms, inspect fixtures, floors, and doors for damage.
Finally, tackle any last tasks, such as defrosting the freezer and cleaning the oven.
Unpack Essential Items
After ensuring your new home is damage-free, it's time to unpack the essentials you'll need immediately. Here's a quick list to help you out:
- Toiletries: Unpack toilet roll, towels, hand soap, and other important toiletries for easy access.
- Medications: Keep daily medications and any emergency supplies within reach.
- Basic Kitchen Items: Start with the kitchen by unpacking glasses, cutlery, and basic cookware.
- First Night Essentials: Don't forget a change of clothes, bedding, and phone chargers to ensure comfort.
Organising your toiletries is crucial for a functional bathroom, so arrange them neatly.
For the kitchen, focus on the essentials first to make meal prep and snacks easier.
Tackle one room at a time to avoid chaos and ensure everything has its place.
Once you've set up the basics, you'll feel more at home and ready to enjoy your new space.
A well-thought-out unpacking strategy can make settling in much easier!
Inspecting for Damage
Inspecting for damage is crucial on moving day to catch any issues before they become costly. Start with a damage assessment checklist for both the exterior and interior of the property.
Check the roof for missing or loose tiles and look for signs of water damage. Inspect the walls for cracks and dents, and ensure the foundation is sound with no visible structural problems. Don't overlook the gutters and downpipes—make sure they're clean and secure to avoid future water issues.
Inside, examine the walls and ceilings for nail holes or stains, and check the floors for scratches or other damage. Ensure that doors and windows operate smoothly and are undamaged. Confirm that the electrical and plumbing systems are functioning properly.
Conduct a room-by-room inspection, paying attention to furniture and fixtures in the living room, kitchen appliances, and bathroom fittings.
Finally, make sure all areas are clean, utilities are turned off, and all keys are returned. Take photographs to document the property's condition for future reference. This thorough approach will help you spot issues early and safeguard your investment.
Updating Important Addresses
Once you've moved into your new home, it's important to update your address with Royal Mail to ensure your post is forwarded correctly.
Don't forget to inform your banks and other financial institutions as well; this helps prevent any issues with billing or potential fraud.
Taking these steps promptly will save you from unnecessary hassle later on.
Notify USPS of Change
To ensure a smooth transition to your new home, it's important to promptly inform the Royal Mail of your address change. This will help ensure your mail is forwarded correctly, so you don't miss any important letters.
Here's how to make the process easy:
- Choose Your Method: Decide whether to use the online service or visit your local post office.
- Address Confirmation: If you opt for the online method, fill out the form on the Royal Mail website and pay a £1 fee for identity verification. For in-person changes, complete the relevant form without any charge.
- Select Duration: Decide if you need a temporary (15 days to a year) or permanent forwarding option.
- Provide Required Documents: When changing your address in person, bring a photo ID and any necessary documents for verification.
Make sure to provide this information at least 7 to 10 days before your move.
You'll receive confirmation letters at both your old and new addresses. Following these steps will ensure your mail arrives at your new home without any issues.
Update Financial Institutions Address
Updating your address with financial institutions is crucial to ensure you can access your accounts and receive important documents promptly.
Begin by gathering necessary information, including government-issued IDs, account numbers, and your old and new addresses.
For banks and building societies, you can update your address by visiting a branch, calling customer service, or using online banking platforms where available.
Ensure all account types, such as current accounts, savings accounts, and credit cards, are updated.
When updating credit card companies and lenders, log into your account and find the address update section.
After entering your new address, confirm that credit reference agencies are informed, and check any direct debits for accuracy.
Don't forget to inform investment brokers and loan providers as well.
It's also wise to notify your accountant and tax advisor to ensure all financial documents reflect your new address.
Finally, contact your insurance providers to update your address for all types of coverage.
Confirm that each institution has successfully updated your address to avoid any interruptions in communication and ensure smooth financial management in your new home.
Frequently Asked Questions
What Should I Do if I Need to Reschedule My Moving Date?
If you need to reschedule your moving date, communicate clearly with your removal company. Make sure to update all arrangements promptly. For example, if you've booked friends to help, let them know as soon as possible. Don't forget to confirm the new date with utility providers too, so there are no surprises when you move in.
How Can I Keep My Pets Calm During the Move?
Moving day can be hectic, but you can help your pets stay calm with a few simple strategies. Set up a quiet area where they can feel safe, stick to their usual routines as much as possible, and provide familiar items like their bed or toys to comfort them. These small steps can make a big difference in reducing their anxiety during the move.
What Happens if Items Are Damaged During the Move?
If your items are damaged during the move, inform the movers straight away and make sure to document everything. Use your insurance claims process to seek compensation, and think about strategies to prevent damage in the future. Keep detailed records and evidence of the damage. For instance, take photos of the damaged items and keep any relevant correspondence.
Should I Tip the Movers, and How Much?
Tipping your movers is a nice gesture that can really show your appreciation. A common guideline is to tip between 10-15% of the total cost, or £5-£10 per mover for each hour they work. For example, if your move costs £500 and you were pleased with the service, a tip of £50-£75 would be appropriate. Just remember, it's always nice to check if the moving company has a policy on tipping before deciding.
How Can I Ensure My New Home Is Safe Before Moving In?
To ensure your new home is safe before you move in, carry out comprehensive safety checks. Start by inspecting locks on doors and windows, and test any security alarms. Clear any obstructions from walkways to prevent trips and falls. Identify and rectify potential hazards, such as loose floorboards or faulty wiring. This proactive approach will help create a secure environment for you and your family.
Conclusion
As you close the door on your old home, take a moment to appreciate the fresh start ahead. With your checklist in hand and the sun setting on a successful moving day, you've set the stage for a smooth transition. Keep your inventory handy, confirm your utilities, and update your important addresses. Each step brings you closer to making your new house a cosy, welcoming home.


